Export Distribution Groups and their Members from Microsoft 365 to CSV
Introduction
I always find myself wanting to export data and present it in a meaningful and easy way. Whether this is to present to a client or to discuss internally - the aim is always to simplify the data so that it can be actioned.
One simple example of this was a client wanting to “tidy up” their Microsoft 365 Distribution Lists. They wanted an export of all of the users which were in the groups. Sounds simple right?
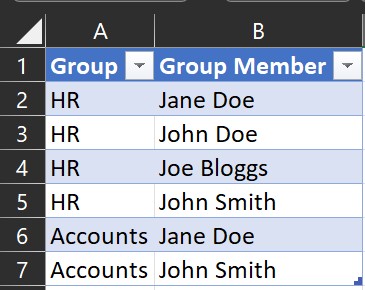
Well, it is. However, one piece of code I keep coming back to is when you have one “parent” key, such as a group, and a number of values underneath it. The ultimate goal is to list the groups as follows:
To do this, we need a nested "foreach" statement within PowerShell. I’ll breakdown the code below as follows, which can also be found on my GitHub.
Pre-requisites
To get started, you will need to install the Exchange Online module from Microsoft: Exchange Online Module
Getting Started
The first thing we will do is connect to Exchange Online of the tenant we wish to export the information from and create a blank array that we will add all of our juicy data to.
Connecting to EXO
# Log in using your Global/Exchange admin username and password - supports MFA
Connect-ExchangeOnline
# Initialise a blank array for you to add the groups and members to.
$group_list = @()
Follow the on-screen prompts to log in with your Global Admin or Exchange Admin user.
Getting the Group information
It’s now time for us to export the groups:
# Create an array for all of the Distribution Groups in the organisation
$groups = Get-DistributionGroup

# You can print the variable onscreen to see the results
$groups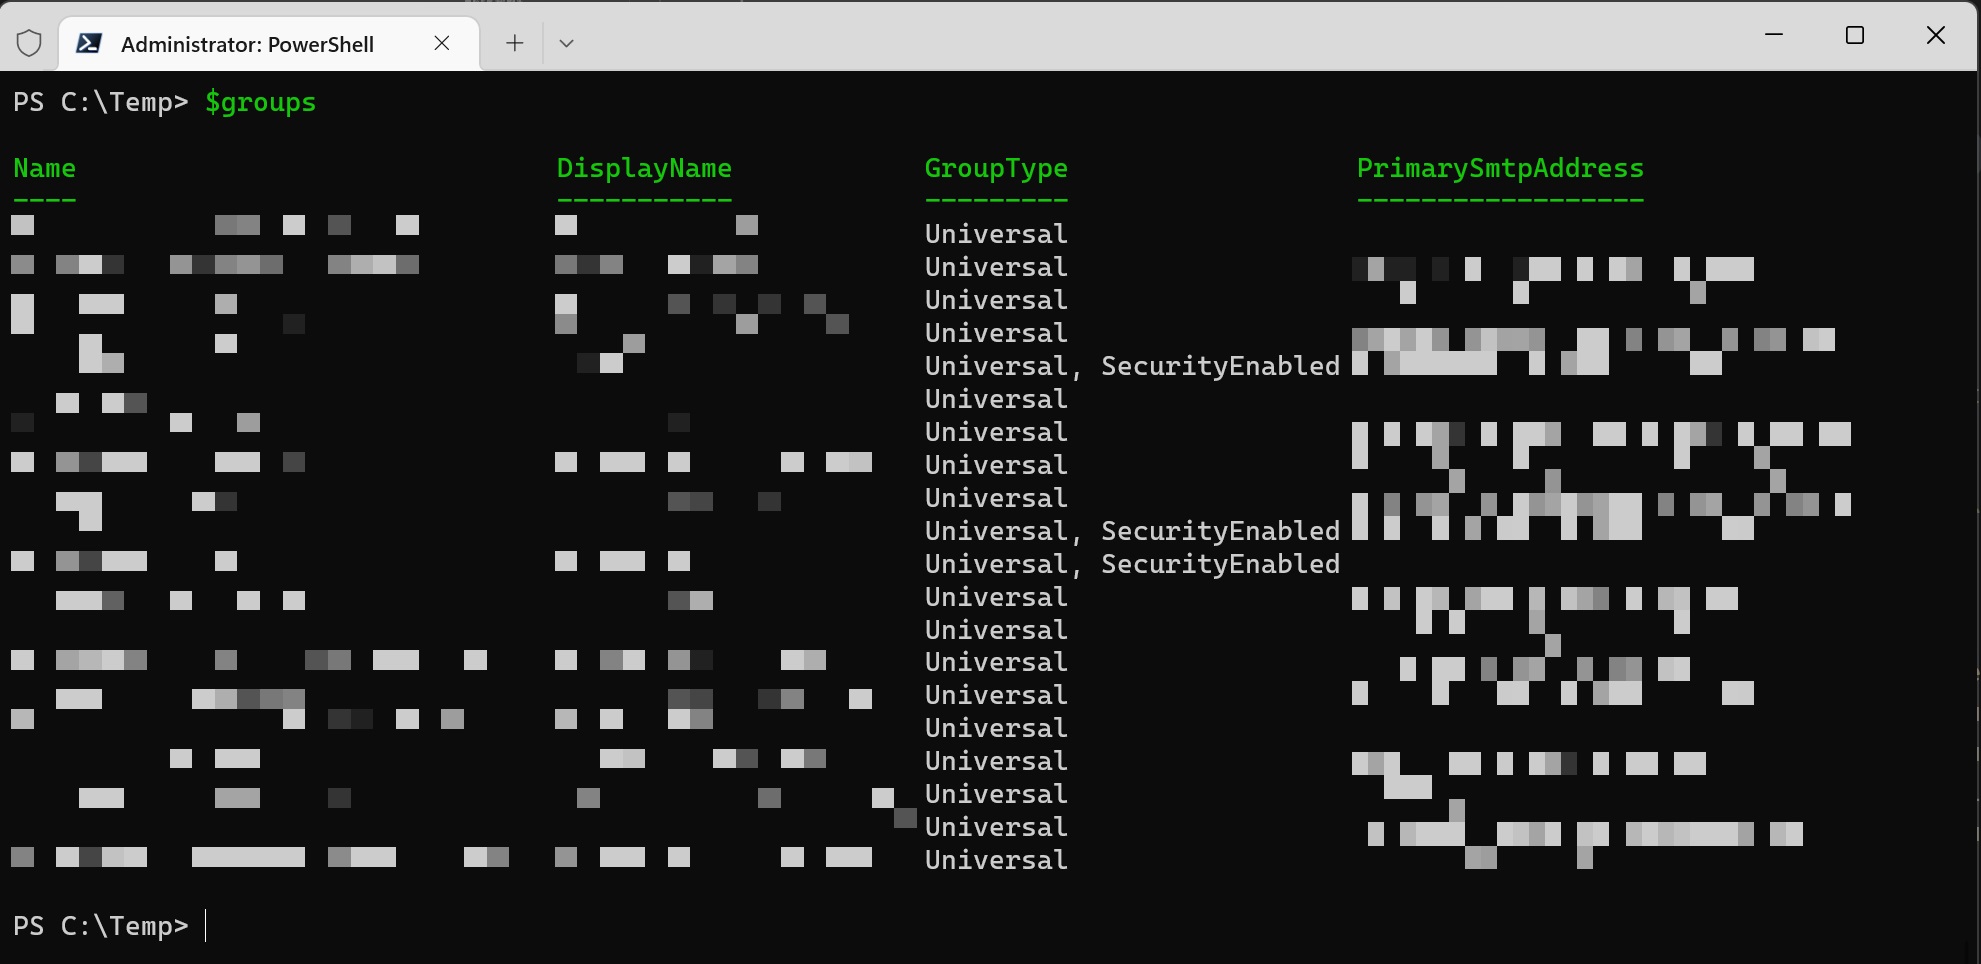
Getting group members
Now it’s time to build out our array which we initialised earlier. We will be doing a nested foreach as mentioned previously, in simple terms this means: We will be looping through each group and adding each member group member to list alongside their group name.
# Loop through each of the groups to pull out their members
foreach ($group in $groups)
{
# Create an array for each of the members of each of the groups - extracting just their Primary SMTP Address
$members = Get-DistributionGroupMember $group.PrimarySmtpAddress
# Loop through each member to create an object with the correct information which will then be added to the $group_list
foreach ($member in $members)
{
$obj = New-Object PSObject
$obj | Add-Member -MemberType NoteProperty -Name GroupName -Value $group.Name
$obj | Add-Member -MemberType NoteProperty -Name GroupEmail -Value $group.PrimarySmtpAddress
$obj | Add-Member -MemberType NoteProperty -Name MemberName -Value $member.Name
$obj | Add-Member -MemberType NoteProperty -Name MemberEmail -Value $member.PrimarySmtpAddress
$obj | Add-Member -MemberType NoteProperty -Name MemberType -Value $member.RecipientType
# After the object has been created, it gets added (appended) to the $group_list array
$group_list += $obj
}
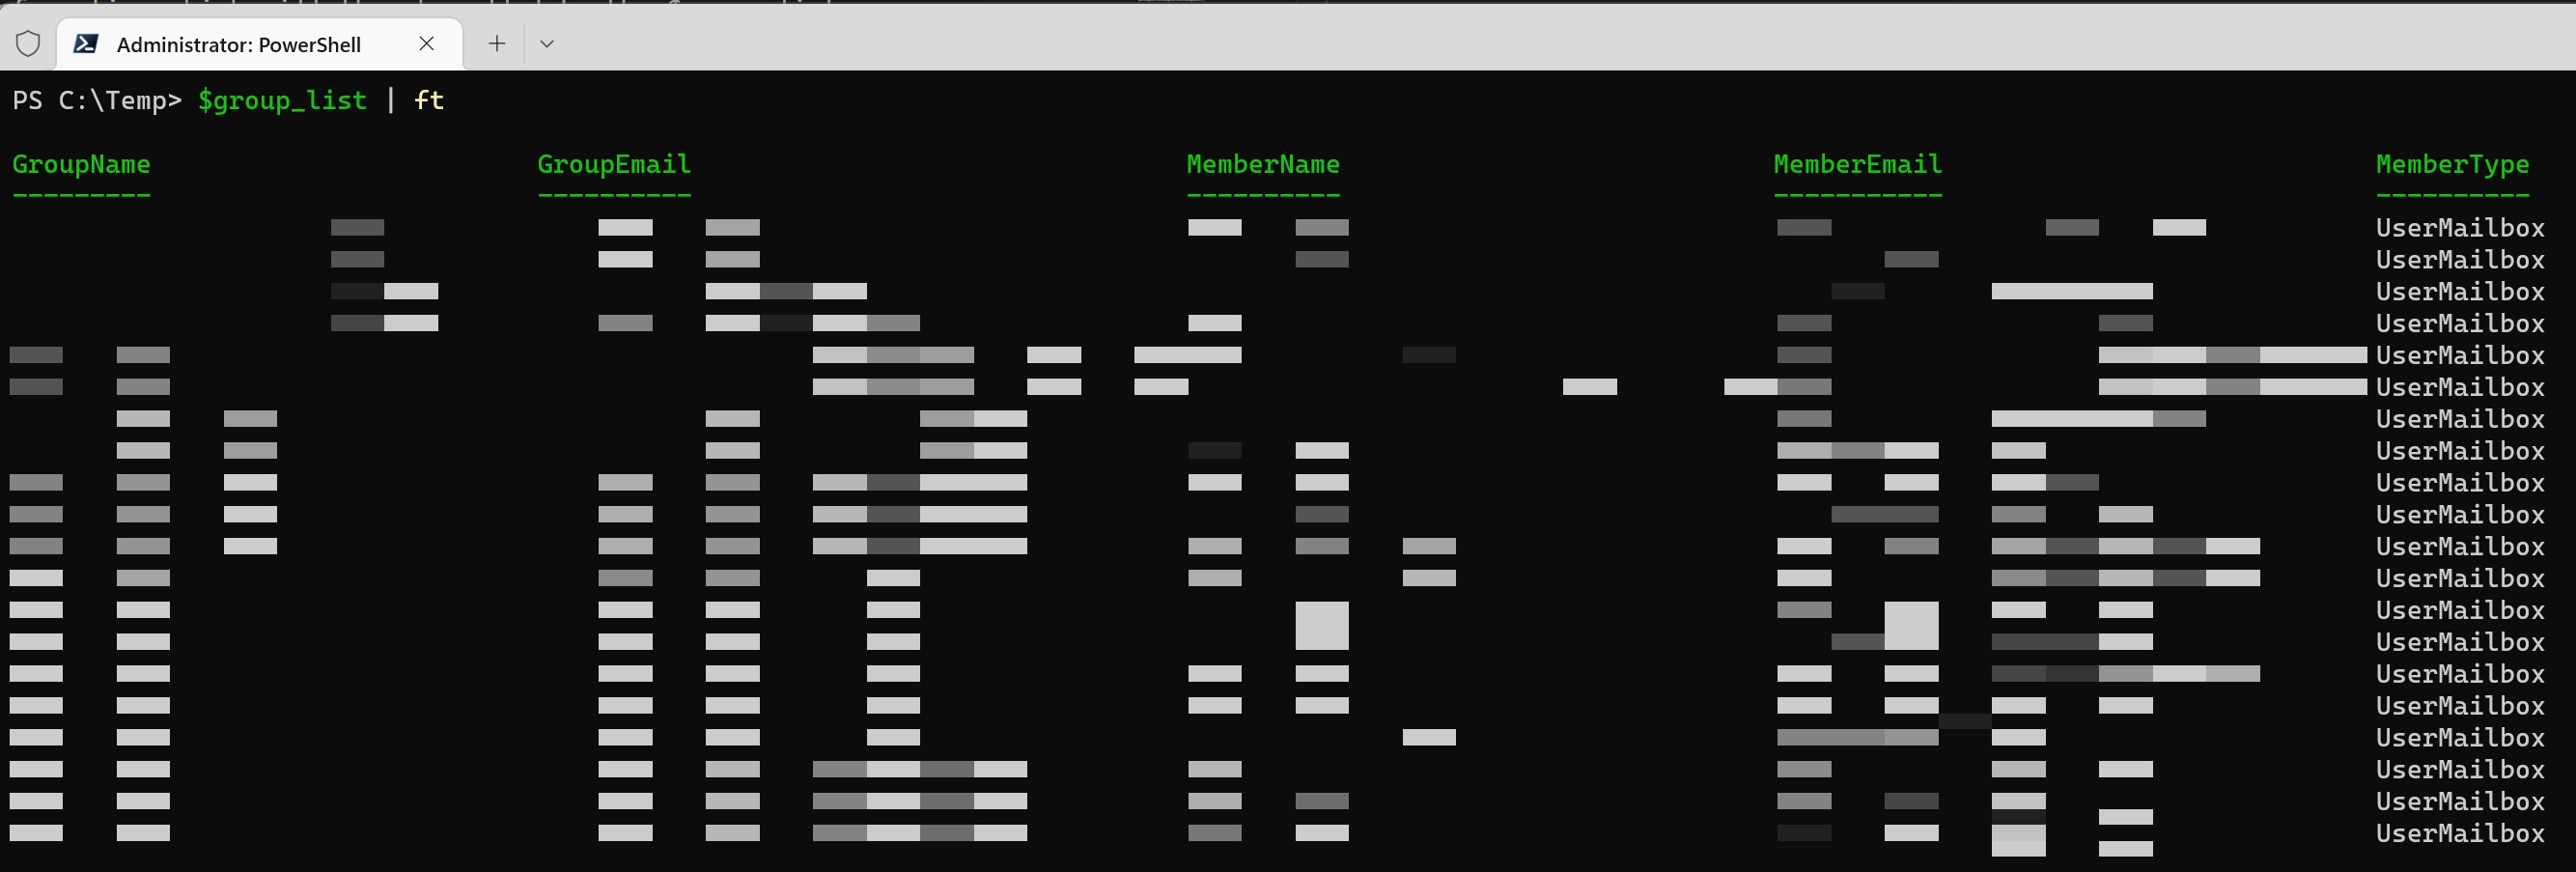
}This may take some time to run, but the ultimate result will look something like this:
Export to CSV and tidy it in Excel
You can now export the file to CSV and open in Excel to tidy it up to send to your client.
# The group list can then be exported to a location of your choosing.
$group_list | Export-CSV -NoTypeInformation "C:\Temp\Exported_Groups.csv"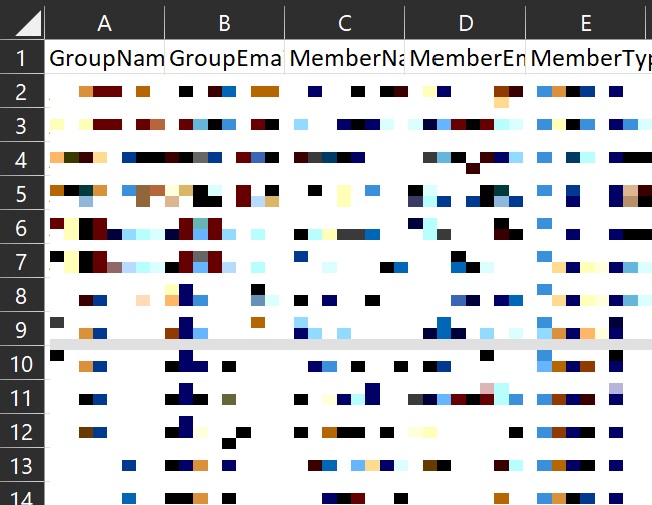
Format in Excel
As I’m writing this post, I realised that I use Excel a lot! I export the data in a raw format and then tidy it up with Excel formatting so that it’s “client friendly”.
Here is what I do:
- Open CSV File
- Press
Ctrl + Tto create a table out of the data (my table has headers) - Press
Alt + H + O + Ito format all the columns to the correct width - Save as
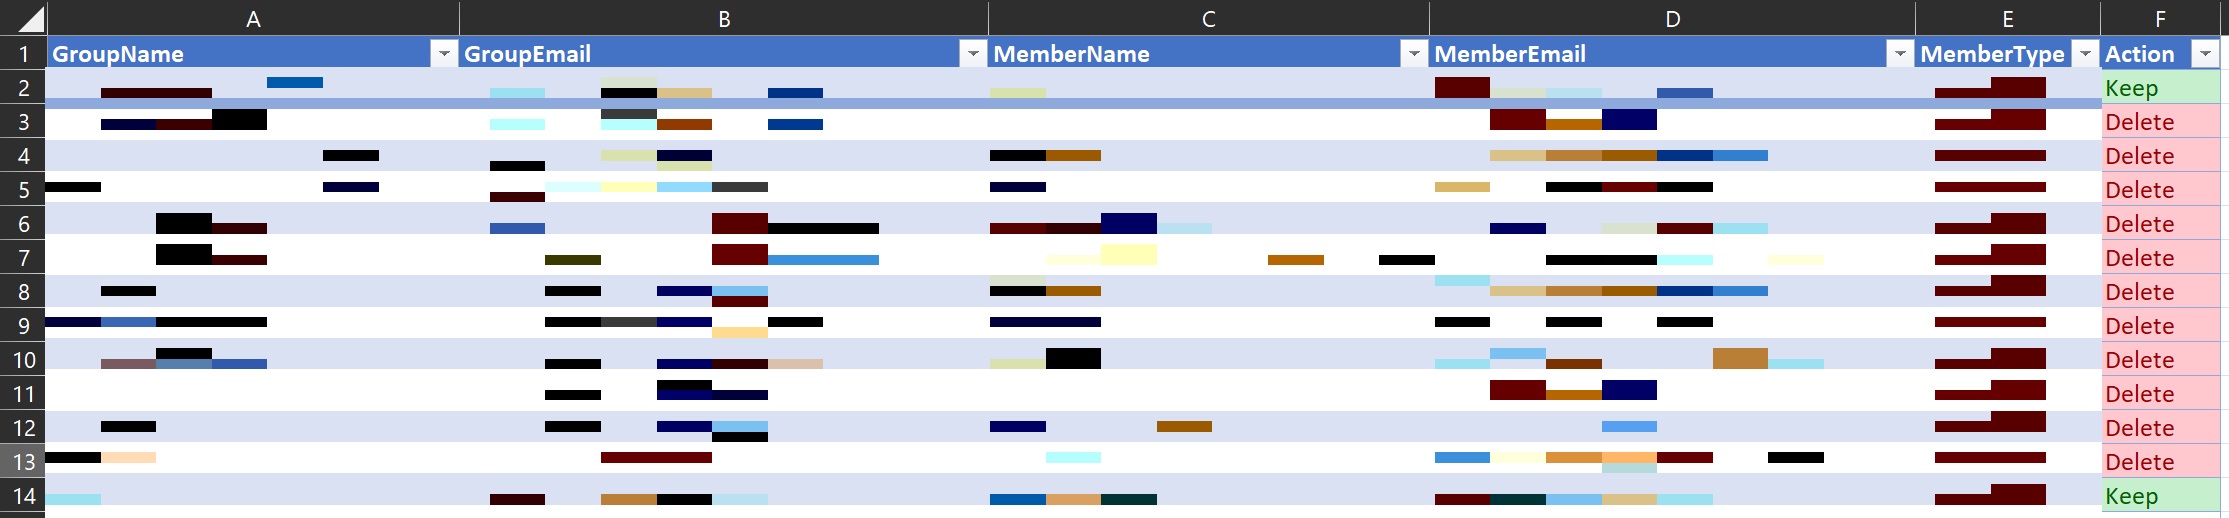
.xlsxformat so it retains formatting - Add any additional columns, such as
Actionfor the client to fill outKeep/Delete
The end result looks like this:
Conclusion
Thanks for reading my first proper blog post on here! Hopefully, you found the functionality useful. I’m sure there are improvements that can be made to my code but this works for me in the scenario described above.